Balboa GS/GL 6" Molex Heater Cable Adapter (25696)
| Circuit Board Parts | |
| Balboa Water Group | |
| 25696 | |
| 59-138-1155 |
$9.88 STANDARD SHIPPING WITHIN THE CONTIGUOUS USA.
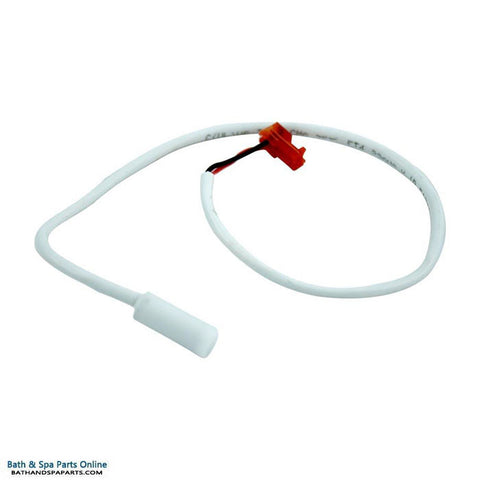
Heater Cable Adapter, Balboa Molex, GS/GL, 6" (25696)
- Heater adapter cable Mounts on the Circuit Board (25696)
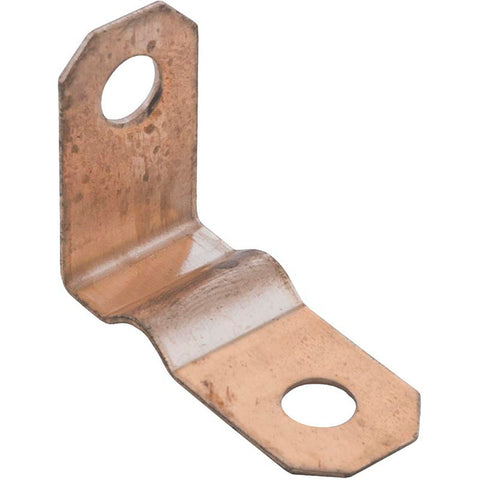
- Replaces Balboa Copper Jumper Straps
If you need assistance in finding the right replacement products, give us a call at 800-918-9143 today!
We can also be reached via chat or e-mail during normal business hours.
Remove Heater Straps & Install Plug N’ Click Heater
PARTS AND TOOLS YOU NEED
– 3/8” (9.5mm) torque wrench
– 3/8” (9.5mm) open end wrench
– 3/8” (9.5mm) nut driver
– Flat-head and Phillips screwdriver – Heater Adapter Cable (25696)
– Replacement Balboa Heater
– Nyogel 760G (36308) and a stick – Loctite Glue
WARNING!
Please contact an electrician or your local electrical company when connecting any spa electrical components. DO NOT OPEN THE SPA SYSTEM AND ATTEMPT TO CONNECT THE CABLE CONNECTORS YOURSELF. The high electrical voltage will harm or kill you.
Heater adapter cable Mounts on the Circuit Board (25696)
Loctite Glue
Nyogel 760G and a stick (36308)
Balboa Heater
STEP 1 OPEN THE SYSTEM BOX
STEP 2 REMOVE NUTS ON CIRCUIT BOARD
– Turn off power to the system.
– Using a Phillips screwdriver unscrew the
2 screws on top of the enclosure and open the cover.
– Use a 3/8” (9.5mm) nut drive to remove the
2 nuts on the circuit board holding the heater copper straps to the system.
STEP 3 REMOVE THE 2 HEATER SENSORS
– Locate the 2 sensors holder on the circuit board.
– Remove the 2 heater sensors by depressing the clip and gently pulling on the wire to remove each sensor cable.
STEP 4 REMOVE NUTS ON HEATER
– Remove the 2 heater nuts with a 3/8” (9.5mm) wrench.
– Remove heater from system.
STEP 5 INSTALL HEATER CABLES AND TORQUE TO MANUFACTURE SPECIFICATION
Apply Loctite Here
Note: Torque specifications shown above.
– Attach the Heater Adapter Cable (25696) onto the circuit board (where the copper straps were attached).
– Use a torque wrench to tighten the 2 nuts to manufacture specification. Example the system above shows the
specification as 30-35 lb inch. Then, add 1 drop of Loctite to each nut to seal.
STEP 6 INSTALL NEW HEATER AND TIGHTEN THE 2 NUTS
– Place your new heater into the heater rack. Insert the 2 heater sensors and tighten the 2 heater nuts.
STEP 7 APPLY NYOGEL & PLUG N’ CLICK
Applying NYOGEL Here
Apply NYOGEL 760G here.
– Use a flat stick apply NYOGEL 760G to all 3 sides of the heater power male and female terminals.
– Plug N’ Click the 2 cables. Place the cover back on and tighten the 2 screws.
Cable 25696
Cable 25263


![Balboa Copper Jumper Heater Strap To Board [EL/VS/GL/GS Series] (30039)](http://www.bathandspaparts.com/cdn/shop/products/59-138-1152_xl_large.jpg?v=1518750495)
![Balboa Temperature Sensor Cable Assembly [96" x 3/8"] [31" x 1/4"] W/Nut (30637)](http://www.bathandspaparts.com/cdn/shop/products/30367_large.jpg?v=1609822630)
![Hydro Quip Jumper Heater Strap To Board [EL/VS/GL/GS Series] (30039)](http://www.bathandspaparts.com/cdn/shop/products/48-0023_large.jpg?v=1616009758)

![Balboa Nut 10/32" KEPS Hex Plated [Qty-1] (30114)](http://www.bathandspaparts.com/cdn/shop/products/000625_large.jpg?v=1680531402)


![Universal Temperature/Hi-Limit Sensor [Dual Sensor Systems] [W/Conn] (34-02020A-K)](http://www.bathandspaparts.com/cdn/shop/products/34-02020A-K_large.jpg?v=1630528791)